Getting started with a Synology DS214se NAS
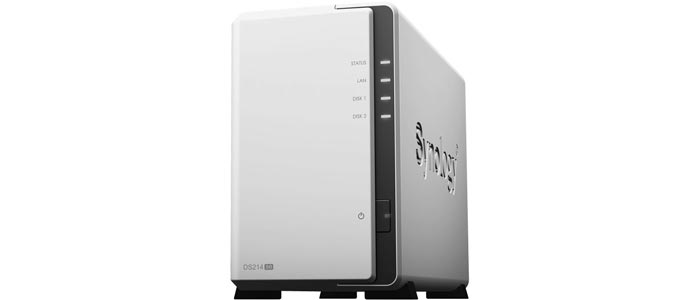
As previously written, I’m the brand new owner of a Synology DS214se DiskStation (basically, an entry-level, 2-disk, network-attached RAID, with lots of added cloudy/streamy features built in).
When I was shopping around for the DS214se, I was struck by a lack of “how to” articles describing the setup process. While Synology’s done their best to keep the DiskStation line as consumer-friendly as possible, I’d imagine the whole thing is still beyond most casual computer users. Which is a real shame, because a cheap and sturdy RAID/NAS is exactly what any house with more than one computer should have.
So, here’s a step-by-step guide on setting up a Synology DiskStation (in this case, a DS214se) with a Mac. With any luck, the googlejuice will be strong with this one, and people like me will find it next time they’re thinking about buying and setting up a home NAS.
System requirements
You’ll need a DS214se (£120 on Amazon) and two 3.5-inch hard drives (in my case, a pair of WD Red 2TB drives, available for £75 each on Amazon).
You’ll also need a small (size #1?) phillips head screwdriver.
Hardware set-up
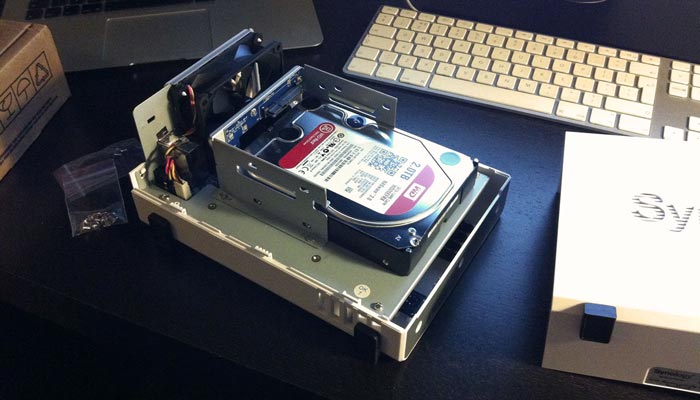
Get everything out, open up the DS214se as suggested in the little booklet (of which a more in-depth version is available here, should you find the IKEA-esque diagrams confusing) and fit the two drives using the aforementioned screwdriver. Close the case, and plug the DS214se into your router and then the power.
Note: The supplied Ethernet cable is approximately 100cm long. The power cable comes in two parts: a 60cm kettle plug and cable, and a 90cm powerbrick and extension that goes into the back of the DS. Finding a suitable position for the DS, 150cm from a power socket and 100cm from your router, is probably the hardest part of this whole setup procedure.
Once you plug everything in, and turn the DS on, lights will start flashing on the front of the box. You’ll also, at random points throughout the process, hear a horrific, angry-sounding beep, which is, unfortunately, your DS214se’s only way to say “hello”1. In case you wonder what the blinkenlights mean, Synology provides a breakdown on page 10 of the Quick Installation Guide. With any luck, the “Disk 1”, “Disk 2” and “LAN” lights should be solid green. “Status”, however, will be a rather worrying shade of blinking orange.
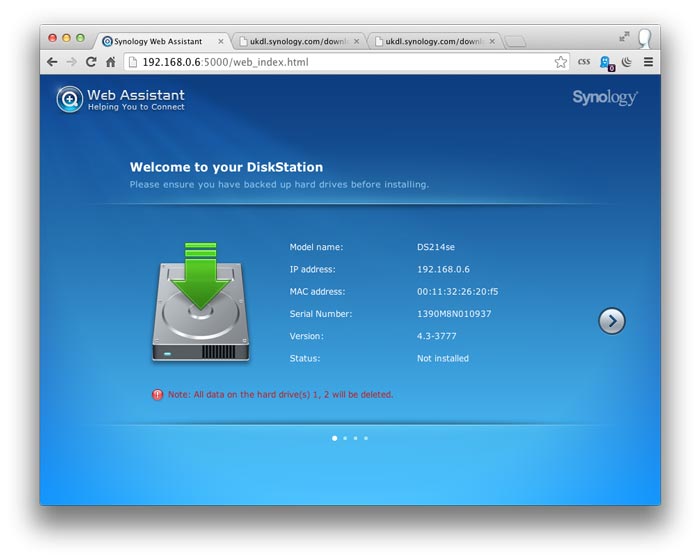
Unlike normal circumstances, where blinking orange means something bad™ has happened, when your DS is new, an orange “Status” light is perfectly fine. Just head on over to http://find.synology.com which will somehow magically detect your DS and begin the setup guide.
Software set-up
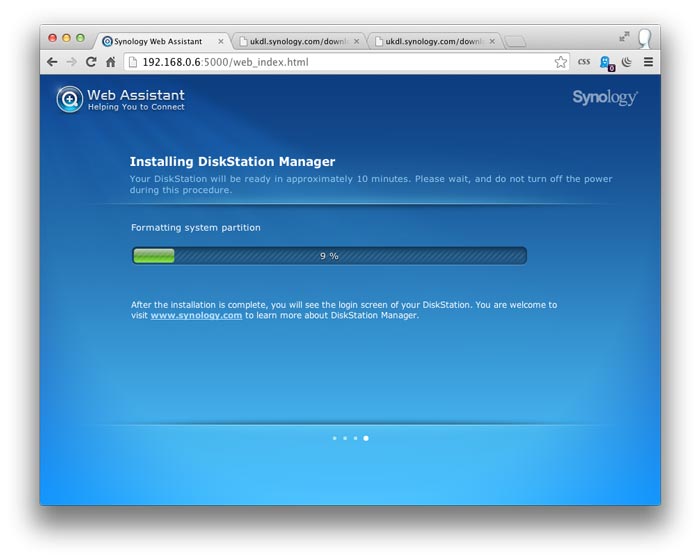
Synology’s really honed this setup process, and it involves little more than clicking the “Next” arrow four times in a row. Your DS214se will reformat the two hard drives you just installed, and then download the latest software from synology.com, before asking for an admin user account password. Choose wisely.
Once its all done, you’re shown the login panel for what Synology calls “DSM” – the DiskStation Manager. Log in with the admin username and password you just chose, and you’ll be greeted by what looks at first glance like a slightly messy Windows 7 desktop. Yes, this whole thing is running in your browser, and yes, it’s the admin interface for your DS214se. Bonkers, I know.
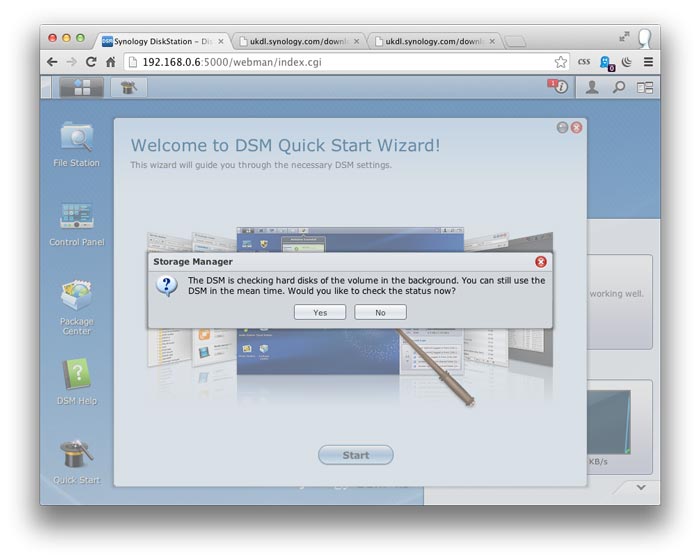
Anyway, DSM helpfully tells you it’s checking the consistency of your new disks – hence the mellow crunching sound and blinking “Disk” lights you might have noticed coming from your DS213se. Not to worry, you can still poke around. Ignore the weirdly interactive “Quick Start Wizard” – it’s just information overload, and you don’t need to do any of the stuff it suggests.
Being a geek, the first thing I did was open up the Control Panel. If you don’t live in the US, it’s worth visiting “Regional Options” to set your local timezone. And if you’re a geek, you’ll probably also want to enable SSH access to your DS by ticking the relevant box in the “Terminal” section.2
Now, with the setup done, it’s time to wait for the “parity consistency check” to finish. In my case, it took exactly 7 hours.

Next steps
- How about setting up Time Machine on your DS214se, to automatically back up your Mac?
- How about enabling SSH access and installing custom command-line progams?
-
By default, the DS214se beeps on startup, shutdown, and errors. If you want to edit these settings, head on over to Control Panel > Hardware > Beep Control in the DSM. ↩
-
If you’re planning on accessing your DS214se via SSH, I’d recommend setting it up to use SSH keys rather than password authentication. There’s an excellent article about it on Scott Granneman’s site. ↩