Deploying web projects with Git
This blog, like most of the code I write, is version-controlled with Git. You can browse the source code on my Github account.
Recently, while working on a side-project, I discovered the awesomeness of not only versioning, but also deploying your code with Git. And the best part is, it works with any old server, as long as you’ve got SSH access.
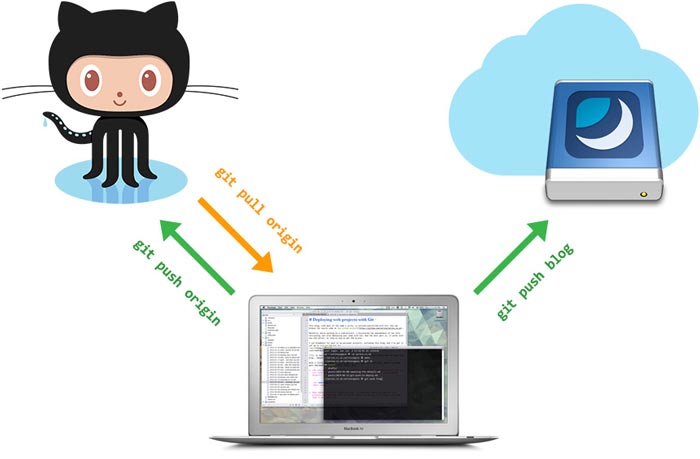
I use Dreamhost for most of my personal projects, including this blog. And I’ve got it set up to use my SSH key for login, so I can just type ssh <username>@zarino.co.uk and I’m in.1
With a little Git magic, I’m also able to just type git push blog and all my code gets deployed to the live site. Here’s how:
-
SSH into your web server and create a directory to store your Git repositories (you can call this directory anything, and put it anywhere, but
~/reposis a sensible default):ssh <username>@zarino.co.uk mkdir repos -
Make another directory inside that one, to store the remote Git repo for your project, and then
cdinto it (in this case, I’m calling itblog.git, you can name it what you like):mkdir repos/blog.git cd repos/blog.git -
Create a “bare” Git repository2 in
repos/blog.git, and create a new file athooks/post-receiveinside that repo:git init --bare nano hooks/post-receive -
Paste the following code into the post-receive file, replacing
<path-to-web-directory>with the full path to the place your code is served from (the default on Dreamhost is/home/<username>/<domain-name>):#!/bin/sh export GIT_WORK_TREE=<path-to-web-directory> git checkout -f -
Make the post-receive hook executable:
chmod +x hooks/post-receive -
Now, on your local machine, add a new remote to your Git repo (in this case, I’ve called the new remote
blogbut you can call it whatever your like):git remote add blog ssh://<username>@<server>/~/repos/blog.git -
Push to your new remote!
git push blog
All your local changes will be pushed to the remote repo, and your post-receive hook will check out the latest files into your web directory, ready to be served up to visitors.
The really cool thing is, you can add more stuff to the post-receive hook, and it’ll all get executed whenever you push. So, if you use Sass, for example, to compile your CSS, you can use a post-receive hook like this to compile your Sass files whenever you push:3
#!/bin/sh

# Dreamhost needs this to put Sass Ruby gem on the path
export PATH=/home/<username>/.gems/bin:/usr/lib/ruby/gems/1.8/bin/:$PATH
export GEM_HOME=/home/<username>/.gems
export GEM_PATH=/home/<username>/.gems:/usr/lib/ruby/gems/1.8

export WEB_DIR=/home/<username>/example.zarino.co.uk
export GIT_WORK_TREE=$WEB_DIR

git checkout -f

echo 'Compiling Sass...'
sass --update $WEB_DIR/sass:$WEB_DIR/css
-
In fact, I’ve got my
~/.ssh/hostsfile set up so that I only have to typessh blog. Google “SSH hosts alias” for more info. ↩ -
Initializing a ‘bare’ repository avoids that annoying
receive.denyCurrentBranchwarning you get when you push to a remote repo. ↩ -
The
PATH,GEM_HOME, andGEM_PATHstuff is a workaround to get the Sass compiler working on Dreamhost servers. By default, Dreamhost accounts don’t come with the Sass Ruby gem installed, so you have to install it yourself and then include these paths in your environment so that thesass --updatecommand becomes available. ↩